
Christmas is the best holiday ever. The decorations are the prettiest, the songs are the nicest and the cookies are the cutest.
Growing up I didn’t really have the chance to celebrate Christmas. In my country it was all about Hanukkah, and being from a Jewish family I spent my Decembers with candles and dreidels.
But Christmas always sneaked into my conscious through movies and photos, and I was secretly dreaming of seeing a real Christmas tree one day. Let’s face it, you can’t watch “Home Alone” without developing a hidden Christmas fetish.
a few years ago my dream came true, thanks to a lovey-dovey relationship with my prince charming from Belgium. He moved to my country to live with me, and we’ve been together ever since. And with this, of course, comes an annual trip to Belgium, to celebrate Christmas with his family.
As an illustrator, Christmas is my play zone. I can keep myself busy for days drawing adorable Christmas graphics. I love the symbols, the colors and the overall festive feel that comes with this holiday.
So this time, I collaborated with my Belgian man, who happens to have a thing for photography. Together we created this DIY Christmas miniatures set.
This craft was easy to make and the results look adorable. If you own a doll house or one of those mini Christmas model trains, you will enjoy using your own DIY Christmas miniatures to the display. Here is the step-by-step guide to show you how we did it.
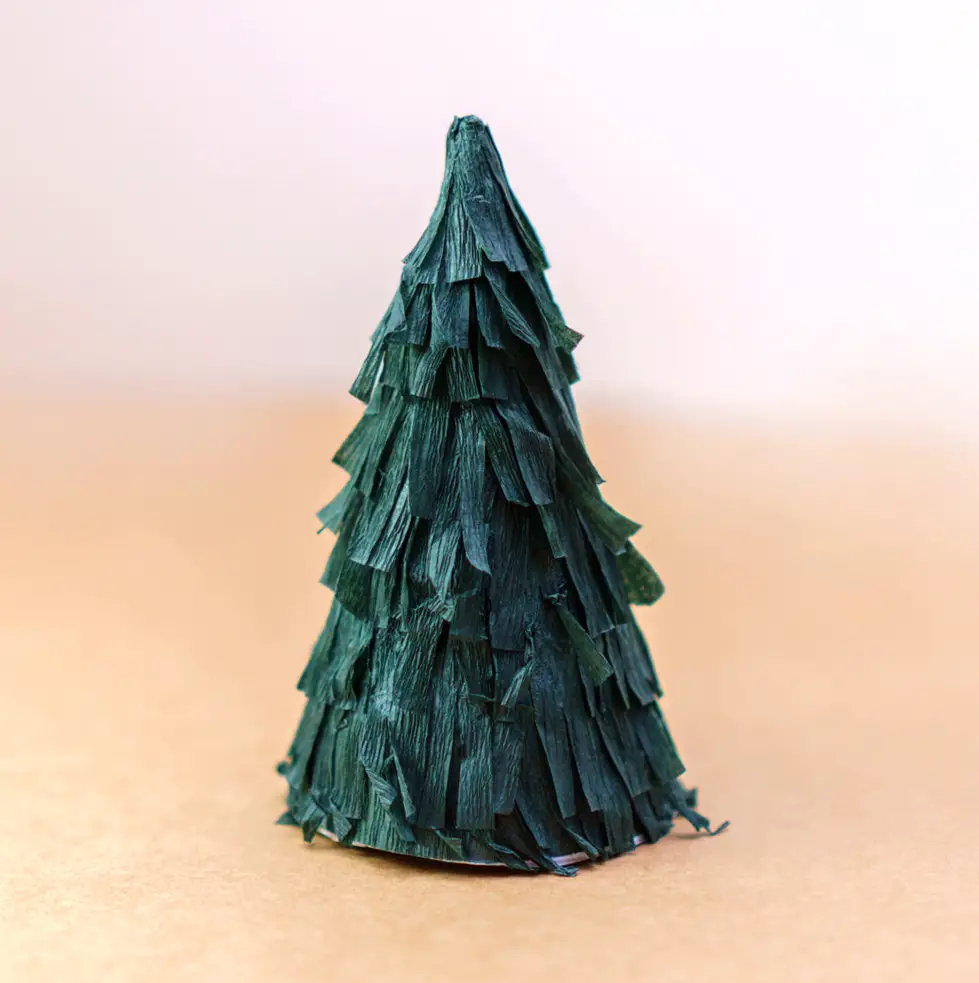
Step 1: Make a miniature Christmas tree
For the tree, I used crepe paper and a thin cardstock.
I cut out long strings of crepe, and then slit them, like this:

Then, I cut the cardstock into a circle and made a wide slit on the side. I folded it into a cone and stapled the edges, to get the shape of the tree.

Once the cone was ready I started pasting the crepe paper into it, strip after strip, starting from the bottom and all the way up.

Step 2: Decorate the Christmas tree
To decorate the tree, I used glittery pipe cleaners and a star that I punched out of a golden paper package. I always keep nice packages like this because you never know when you’ll need a pretty piece of paper!
The inner side of the package was white, which meant my star had a white side. To fix this, I punch another side and glued the two to each other.


Step 3: Make tiny presents
My image of an ideal Christmas tree is not complete without presents around its trunk.
For this I took a brown paper bag, a block of foam and a shiny gift ribbon.

I cut cubes out of the foam, wrapped it with pieces of the paper bag and added a ribbon:

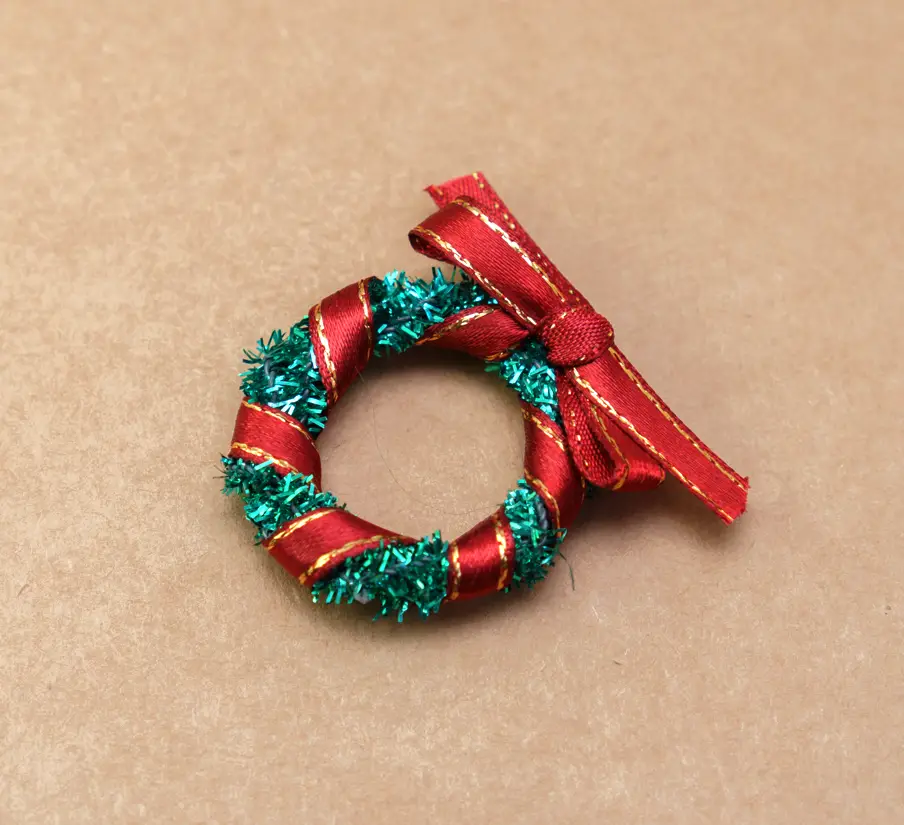
Step 4: Make the mini wreath
The wreath is super simple. It is made of two metallic green pipe cleaners and a satin ribbon. No glue was needed.

To make the wreath, make a circle out of one pipe cleaner, thicken it by wrapping the other cleaner around it, and then wrap the ribbon around them both. Tie the ribbon in a neat bow knot, and you will get:

Step 5: Combine
All ready for a group photo!

What do you think? Try it out today or pin it for later!
You might like this craft, too:


